Jon Davies
September 21, 2018

How can we safely add insulation to existing walls without risking trapped moisture and compromising durability?
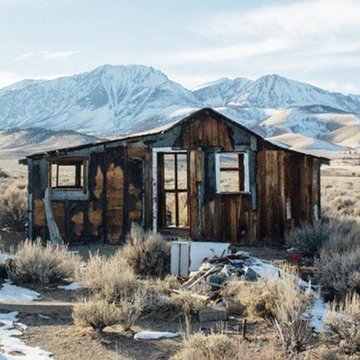
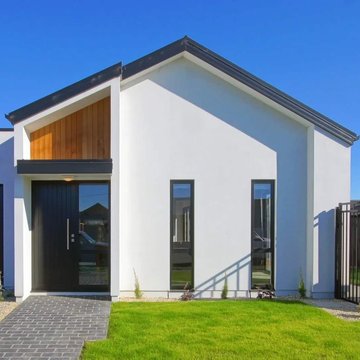
Whether you design for renovation work on a daily basis or you need to renovate your own house, it’s a very rare opportunity to improve the thermal performance of the building. So, what should we do to the walls to safely include insulation without compromising durability?
Firstly NZS 4246: 2016 makes some very clear statements about position, support, and wall underlays (or lack of) to ensure insulation does not come into contact with existing cladding. This guidance can be found in 4246, 5.3 onwards (pp 53-61).
Historically the guidance has taken us from "a very big gap" ie. no insulation, through to ‘no gap’ meaning the wall underlay was left in contact with weatherboards (see BUILD 118 June/July 2010), and now, leaving a gap for air drying by creating a pocket of wall underlay between the wall studs.
One important change relates to fitting insulation from the inside (removing linings) to walls that have no wall underlay. BRANZ research has shown that installing wall underlay hard against an existing cladding can cause moisture transfer and result in moisture accumulation within the insulation. As a result, BRANZ now advises that a 20mm gap must be left between the retrofitted underlay or rigid insulation material and the back of the cladding. This is to allow for some drainage and drying and prevent direct contact. Standards Touchstone 2016
In a new build, this simply looks like a wall underlay with cladding installed in a cavity, but renovation makes it slightly trickier and certainly more time-consuming.
Firstly, what are we trying to accomplish? And secondly, what does it look like?
Your ventilation should be inside or outside of the insulation, not through it, across it or around it (performance degradation).
You are trying to maintain a gap between cladding and wall underlay, so cladding has two directions to dry (inwards and outwards).
You are trying to create drying capacity in this gap, so ideally the cavity would be ventilated top and bottom (challenging with direct fix cladding).
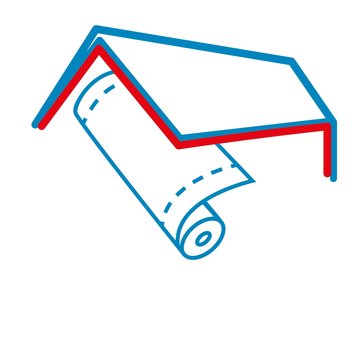
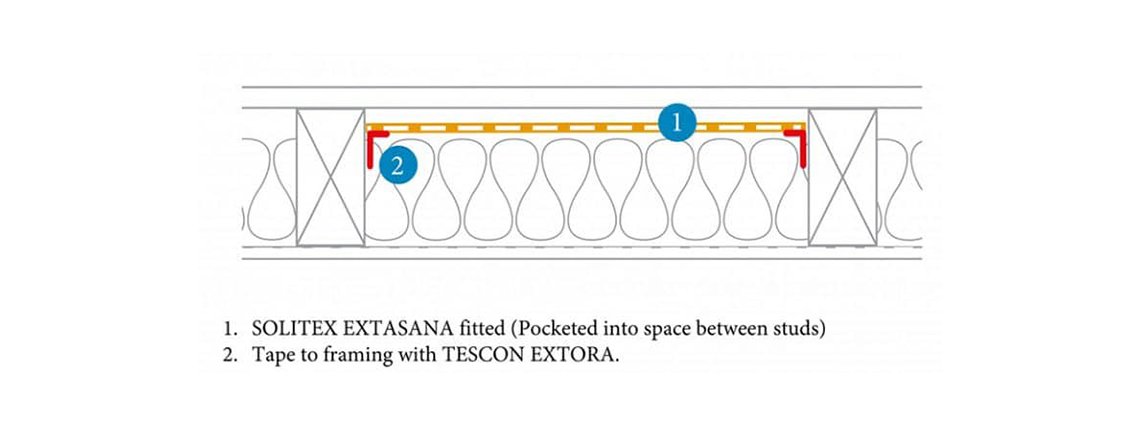
Option 1: Creating pockets with stapled wall underlay. This may work but insulation can force the gap closed, remembering that these options are likely to be done in an old 4” wall (100mm). Even so, insulation thickness may need to be reduced.

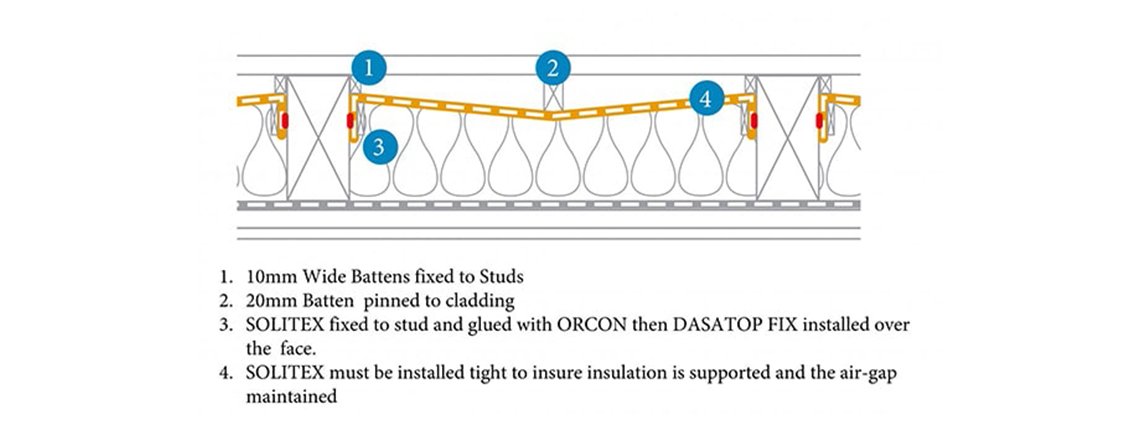
Option 2: An intermediate (vertical) batten could be used to combat this compression, as shown here. This would require additional product and labour, which is a labour-intensive requirement anyway.

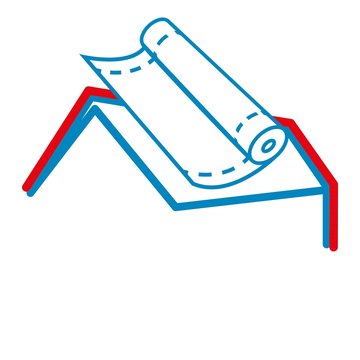
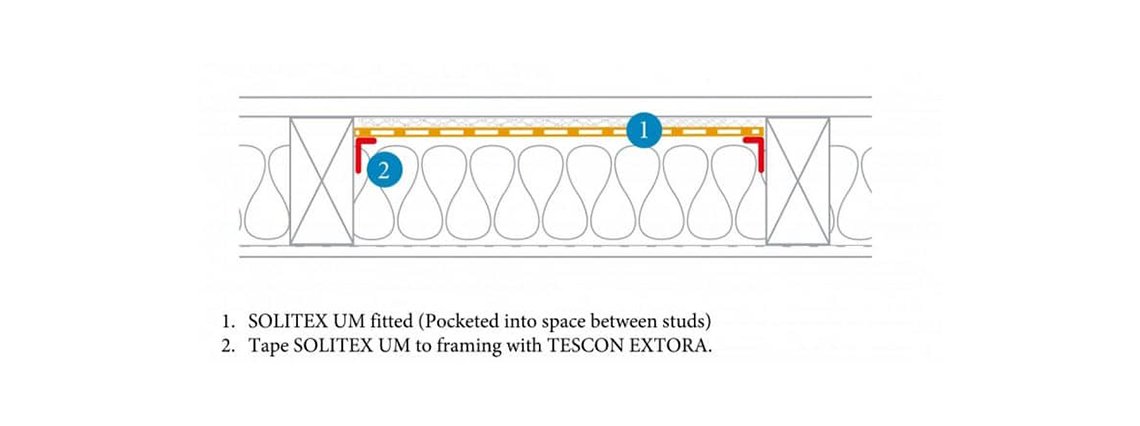
Option 3: SOLITEX® UM. While only an 8mm gap (created by the scrambled mesh attached to a weathertight underlay), the gap cannot be forced closed by the weight of insulation. Ideally, it should be taped (like all options) at the bottom plate or installed so the tail is out as described next.

If renovation is this rare opportunity to improve the building rather than degrade it with trapped water, then ‘get the tail out’ at the bottom plate. This means feeding the lower section of the wall underlay back toward the outside so that running water will not pool on the bottom plate.
There are options here: Chiselling out the top corner of the bottom plate to ensure any running water is directed back into the cladding rather than fed onto the bottom plate.
If this means removing and replacing a weatherboard, it’s the right thing.
Renovation of brick cladding (on cavity on timber frame) is comparatively easy using a standard wall underlay. Our recommendation is to pin or tape to the outer top corner of the bottom plate and put the tail out in the cavity as this:
Provides a drainage path.
Prevents insulation bulge.
Prevents wind movement across or into the insulation.
An airflow cavity must be maintained for drying external moisture from the back of the cladding and the face of the wall underlay—a drained and ventilated cavity (meaning the top and bottom of the cavity are open for drying).
Airflow for drying (removal) of internal moisture should be on the inside by use of specially designed ventilation elements (windows) or mechanical ventilation (balanced pressure).
"Drying" through the structure is not drying. It is wetting the structure, which then must be dried. This is risky.
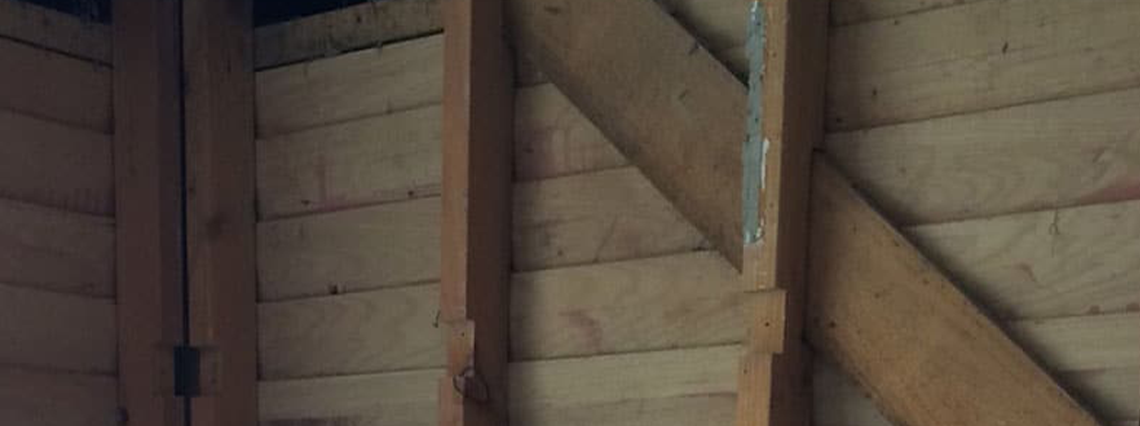
Air moving through the structure is called infiltration and risks interstitial condensation. There are always going to be excuses, e.g., things in the way, such as diagonal bracing or pipework. The intent here is to provide options for doing the most with what is available, not the least possible.
This brings us full circle back to BRANZ’s research and recommendations to leave weatherboards free from direct contact with wall underlays. This ensures they maintain the same drying they’ve always had. Dry = Durable.
MBIE (Building) Risks with retrofitting wall insulation.
NZS 4246: 2016 Energy Efficiency, Installing bulk insulation.
BRANZ Build 118 June/July 2010 Standards New Zealand Touchstone. Retrofitting external wall insulation.
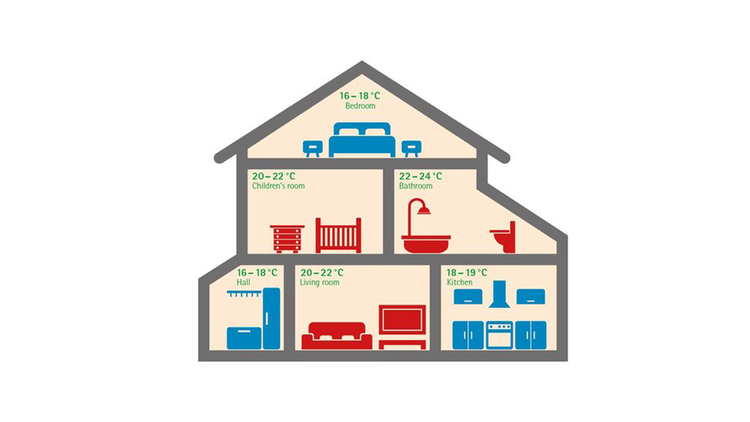
A thermally insulated, airtight building envelope plays a major role in determining how comfortable and pleasant an indoor environment is for us and how well we can work, learn or relax there. The air temperature has the strongest effect on our perception of comfort level: a temperature range of between 20 °C and 23 °C in homes is regarded as comfortable in winter, while temperatures of up to 26 °C are perceived as pleasant in summer. In this context, airtightness has a crucial influence on the effectiveness of thermal protection in both winter and summer.